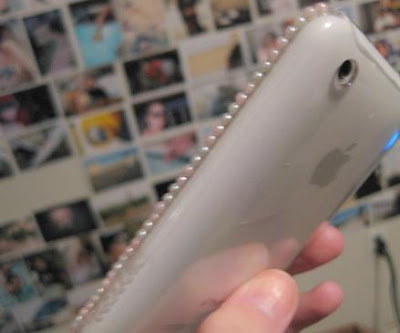
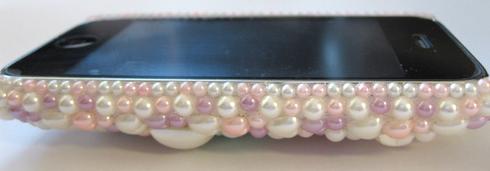
As I mentioned in my post below, my amazing penpal Heather sent me an early Valentine's day gift- Cabochons from one of my favorite Etsy shops! It was just the thing I needed to get some inspiration to finally deco my iPhone's case! I wanted to share the process with you guys, and in return please do me the favor of not using these photos without asking me beforehand- I worked very hard on this project! Also, please remember that I did not read any tutorials beforehand. This is just my opinion on how I think it's best to deco! But I'm sure there are many other equally effective ways as well :)

The main thing you will need is good crafting glue. I love E6000 glue. My tip when using it is to keep a sheet of notebook paper next to you at all times seeing as some excess glue does come out when you set it down, so set it down on top of the paper. I also suggest not squeezing the bottle too hard because of that. It's good to use the tip of the glue bottle to kind of smear the glue around so it isn't too thick.
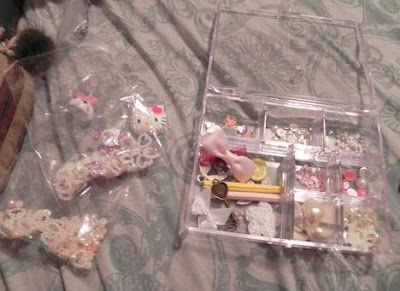
This is my little kit. I think the best kit you could have/put together is one with different sizes of pearls/rhinestones. This way you can fill the empty spaces easily since you will have various sizes to choose from. I like to separate the sizes so the whole process is easier and quicker.
Always start off with the borders. This will help make it look more even and "professional". Even do the borders of the camera-hole, etc.
As I stated above, separating the pearls beforehand can be a lifesaver. I usually place mine on the table since I don't use tweezers to pick them up with. I simply dab my finger on top of the pearl so it naturally sticks on it and place it on the glue.

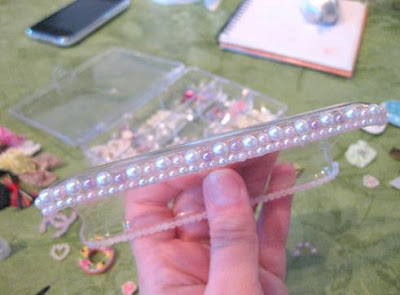
After the first border is finished, I begin the second row. I came up with a pattern on the table before gluing it down. Doing patch-by-patch rather than the whole line makes it much easier. The glue dries relatively quickly so you don't want to overwhelm yourself by speeding through it. I normally do about 6 pearls at a time.
I then do one last border before starting with the rest of the case.
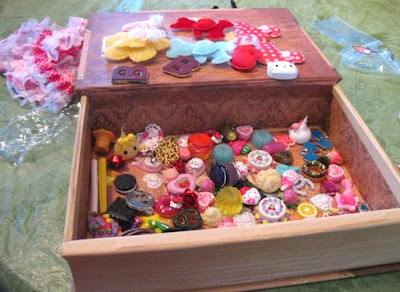
I chose whichever cabochons I wanted to work with first. I decided not to use any "sweets" so it could be a more consistent theme.

Before gluing the big pieces down (which is the next step), I played around with them to find a good spot. I suggest spreading them evenly throughout the case so that one spot isn't more bulky than another.
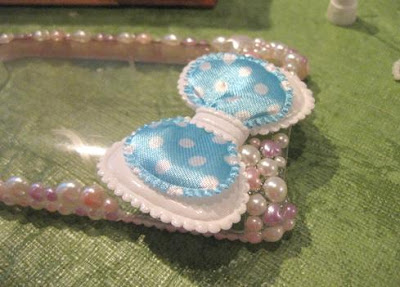
I then began to glue around the pieces. Specifically the bow first. You can do a border on the top of the case as well, but I like to let the pearls naturally fill the top space since I had various sizes.
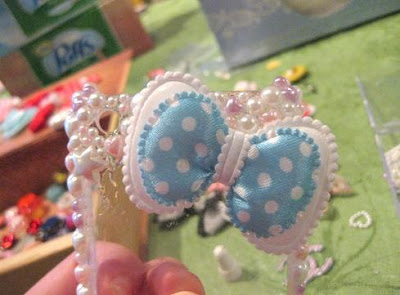
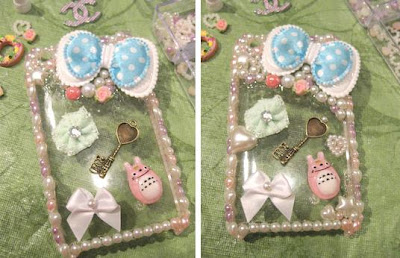
I normally start gluing around the big pieces first, working my way out.
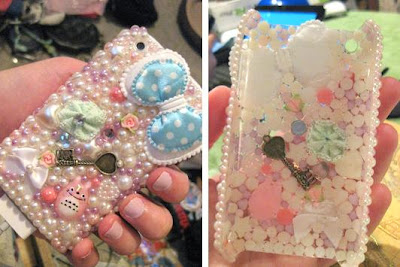
And voila!
(One last tip: let it dry overnight before using it!)

 I'm excited to show you guys these little cuties I made just for Valentine's day :)
 Each has its own personality and comes with a complimentary eraser & pearl star cabochon!
 They're the perfect little size to keep in your purse as pill boxes, or even to store your earrings in! So many uses for them. I made sure that some of them weren't strictly for people in relationships in case they will be gifted to friends, etc.
 1. White ~Lov U~

 4. Fuchsia ~Kiss Me~


 8. White ~Forever~


 I let the first few borders dry overnight so that the rest would be easier to work with and the pearls wouldn't be moving around as I worked on the rest of the case.